
The Fax feature allows you to send and receive faxes using your user account. From here, you can manage your faxes by marking them as unread, you can also download your fax attachments and delete them if needed.
This article covers faxing from My.Phone.com, which can be used on any browser or mobile device. You can also manage faxes from the Phone.com mobile apps for iOS or Android.
Visit My.Phone.com and sign in with your user info, then select "Fax," from the left Navbar. You can then access the Sent and Received messages by clicking on the respective tab within the app.
What is required to receive a fax message?
Only dedicated numbers can receive incoming fax messages. To configure a number for faxes simply visit our Configure Numbers support article.
Are there any attachment limitations?
You can send up to 200 pages as long as they are under 10MB in size and spread across no more than 5 attachments per fax.
Can faxes be sent concurrently?
Yes, you can send multiple faxes concurrently, meaning they will arrive according to their size, this way a large fax will not block any other faxes sent after it.
Sending Faxes
Fax Status
Overview
Once you select the Fax App you will notice two tabs one for sent and one for received faxes located on the left section of the app. These will be listed in chronological order respectively. The info provided is limited but useful and it includes faxing ID, time and number of pages within the message.
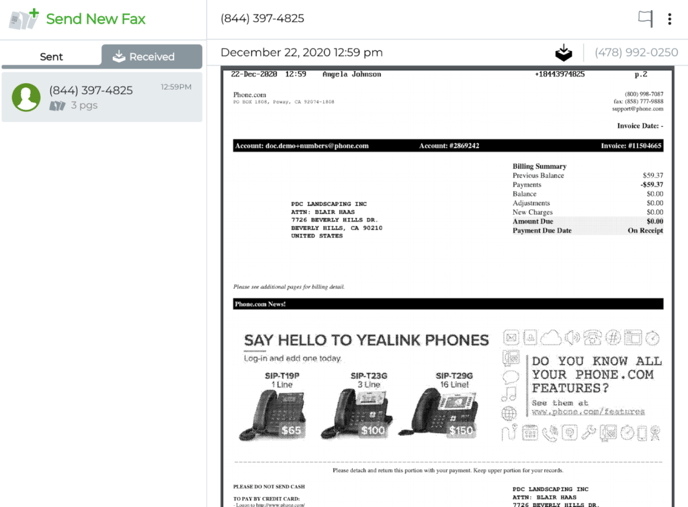
Fax detail view
When viewing sent or received faxes you can find useful information under the detailed section (located on the right section once you make a selection). The detailed section contains useful information such as date and time received faxing ID and the number of pages contained within the message. You can also use the mark as unread, delete and download features as needed by selecting the flag icon or three dots (located within the upper right corner)
Sending a fax message
To send a fax message simply select the ‘Send New Fax’ option above the fax list section. Enter the destination fax number then select your outgoing fax number (the number you want to show when you send your fax).
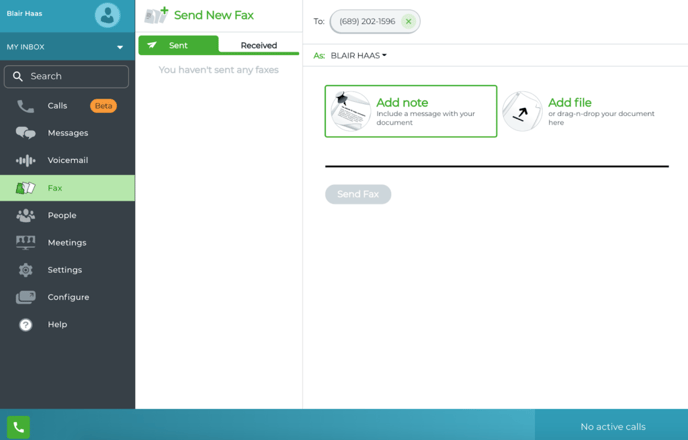
You can then choose to add a note (this will appear as plain text on a separate page) and finally add the file you wish to fax. Once the note and files are attached yocan send out the fax.
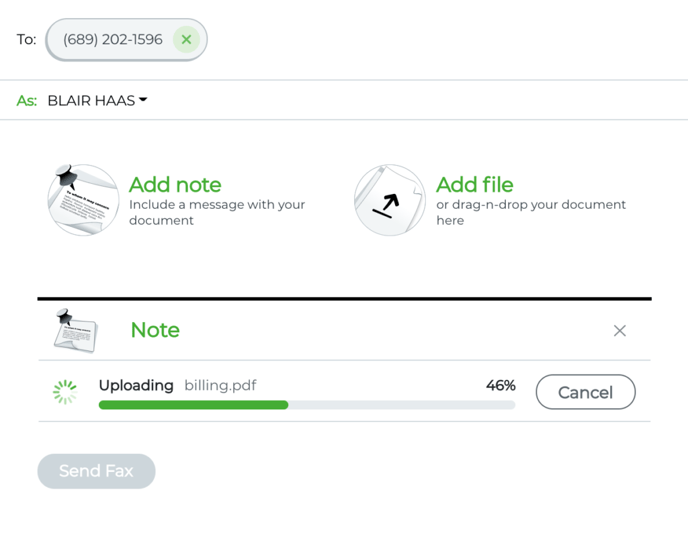
Once you add your note and upload your files you can still add more or remove any that you might have added by mistake by hovering over the file section and selecting the gray ‘X’ that appears to the right of the slot. Once ready simply select the Send Fax button.
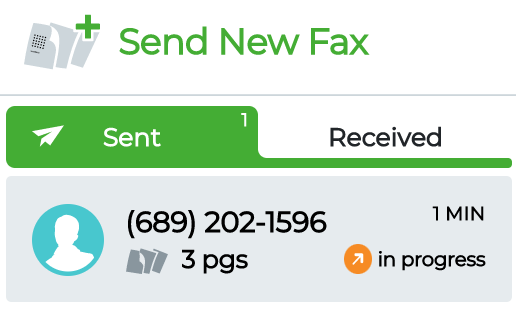
Fax status
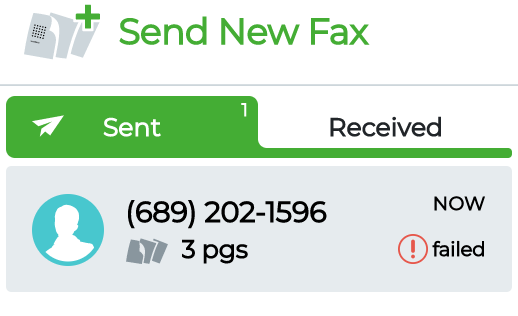
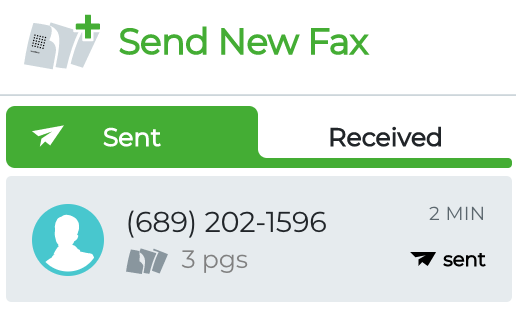
After sending out a fax message you will notice a status appears next to it when listed under the Sent Tab. This is to provide you with information in case the fax fails to be received. Fax messages have 3 statuses, In Progress, Failed, and Sent.
- In Progress means the system is attempting to send the fax message, it is normal for this status to remain visible for a few minutes especially if the fax payload is large.
Failed means the system was unable to transmit the message, this is usually because the destination fax number is not configured to receive faxes or it is busy. This is one of the two possible outcomes when sending a fax message.
Sent means the fax message was successfully sent to the destination. This is one of the two possible outcomes when sending a fax message.
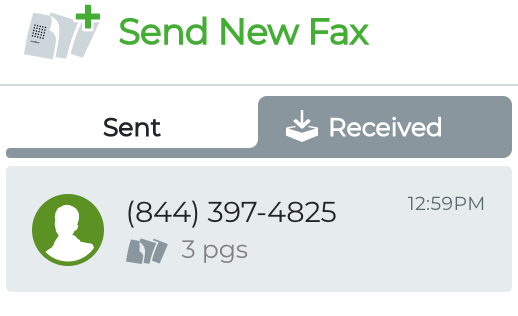
Receiving a fax message
After you are done configuring your number to receive faxes you are able to receive faxes, once you receive a fax you can view it by selecting the “Received tab within the Fax App. All received faxes will appear listed under this section. You can mark them as unread, download them or delete them altogether.
When viewing a fax message you can always hover over the detail section and select fit to page, zoom in or out.